
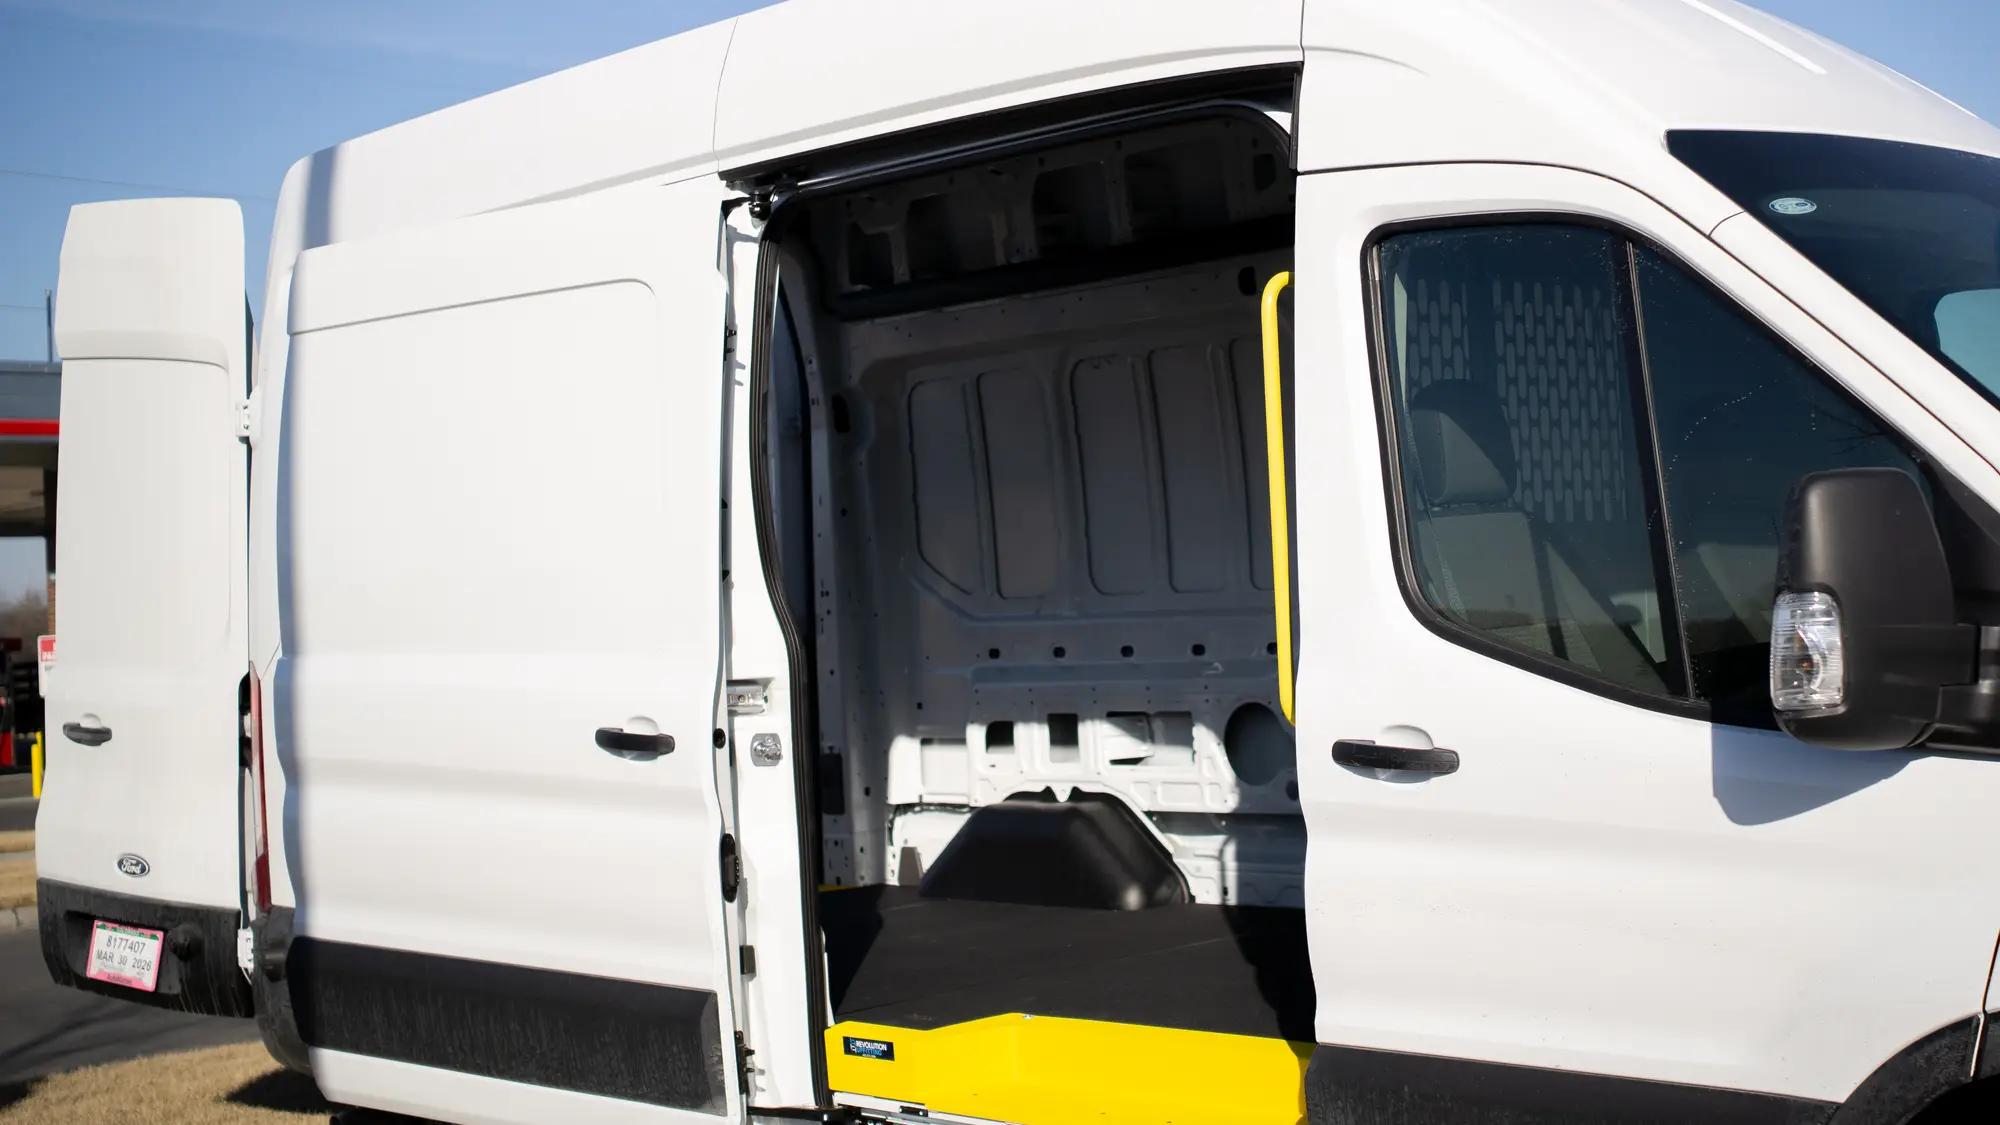
White work van with its sliding side door open to the cargo area

Van Liners & Interior Protection
Full Interior Protection for Omaha & Lincoln Work Vans

Request a Free Van Liner Quote Browse Our Full Upfitting Lineup
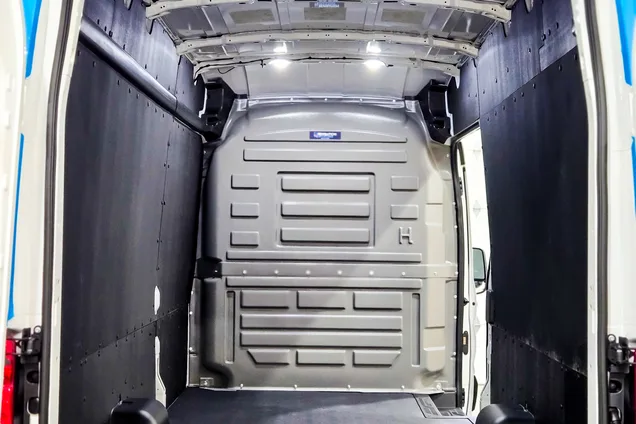
Cargo van interior with full wall liner panels and protective flooring

Bare sheet metal loses every fight it gets into. Dropped tools dent it, dragged material gouges it, spills stain it, and by trade-in day the cargo area tells the whole story to anyone who opens the doors. At Revolution Upfitting in Omaha, NE and Lincoln, NE, we install van liner systems that armor the floors, walls, and ceilings of work and cargo vans with durable, easy-clean materials — so the vehicle takes the abuse on a surface built for it, and the metal underneath stays worth something. Every abused surface gets a layer built to take it.

What a Lined Van Looks Like After Years of Hard Use

We've opened the back doors of a lot of vans over the years, and you can tell within seconds which ones were lined on day one. The difference isn't cosmetic — it's structural, financial, and professional. If you're pricing out a van build, the liner is the item to lock in first, because everything else installs on top of it. Here's why interior protection earns its spot in the build order.

Sheet metal is the resale story

Every gouge, dent, and stain in a bare cargo area comes off the vehicle's value at trade-in. A liner takes that punishment on a replaceable, engineered surface instead, keeping the body underneath clean and the resale conversation in your favor. Few upgrades protect long-term value so directly.

Coverage from the floor up

We line floors, walls, and ceilings as a complete system, not a loose collection of mats. Full coverage means there's no unprotected seam where a shovel handle or a sliding crate finds bare paint. Wheel wells, door sills, and seams get the same attention as the big flat panels.

Surfaces that wipe clean instead of wearing in

The materials we install are chosen to shrug off the daily mess of real work. Mud, dust, and spills clean off an engineered liner surface far easier than they come out of carpet, paint, or raw metal. Less scrubbing at the end of the week means the cleaning actually happens.

A cargo area you're not embarrassed to open

When a customer, inspector, or new hire looks in the back of your van, the interior speaks for your operation. A lined, orderly cargo area says the same thing your invoices should: this outfit takes care of its equipment. First impressions get formed at the back doors more often than you'd think.

The base layer for everything else

Liners go in first and everything else builds on top: shelving anchors over them, partitions seal against them, drawers ride on them. If shelving is next on your list, our guide to choosing the right van shelving system shows how the layers work together. Layer order matters, and liners always go first.

Family-owned and asset-minded

As a family business, we think about vehicles the way owners do: as assets with a service life and a resale day coming. That mindset is why we push interior protection early, when it can still prevent damage instead of just hiding it. It's your asset; we protect it like it's ours.
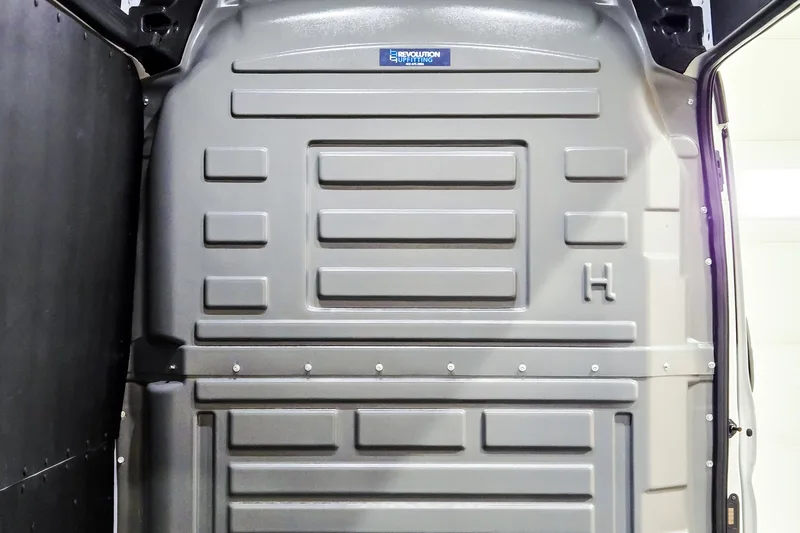
Holman wall liner and bulkhead panel installed in a cargo van

Plan a Liner Package Around Your Trade

A plumber's van, a courier's van, and a mobile tech's van all wear differently — so tell us what you haul and how it loads, and request your liner quote with the vehicle's year, make, and model. Liners also set the stage for the rest of the build: they pair with vehicle partitions and bulkheads at the front of the cargo zone, with truck bed storage and drawer systems in your pickups, and with full box truck upfitting when the fleet includes bigger bodies. If the van is already upfitted, tell us what's inside and we'll plan the liner around it.

Request a Free Van Liner Quote

Our Panel-by-Panel Lining Workflow

Interior protection done right is a fitting job, not a covering job. Every van that comes through our Omaha shop gets walked, measured, and lined one surface at a time — and if you're wondering how our shop handles quoting and scheduling in general, the vehicle upfitting FAQ is the place to look. The sequence below stays the same whether we're lining one van or a dozen. Bring the van in empty if you can — bare panels make for the best templating.

1

Step 1 — Survey the Cargo Area Surface by Surface

We start with what the van actually is: its body style, its factory features, and any wear it's already carrying. What we find here shapes the coverage recommendation, so we don't rush it.

Document the floor, wall, and ceiling condition before any material goes in

Identify factory tie-down points, vents, and wiring that must stay accessible

Measure door openings, wheel wells, and panel contours

Note existing damage so it's addressed, not sealed away

Confirm the van's body style and roof height against available liner systems

Photos captured for the build file before the first panel goes in

2

Step 2 — Choose Coverage: Floor Only or Complete Enclosure

Not every van needs every surface lined, and we'll tell you honestly where the investment does its best work. Coverage should follow the work, not the biggest package on the menu.

Floor-only protection for light-duty and delivery use

Floor-plus-walls packages for trades hauling tools and material

Full floor, wall, and ceiling enclosure for maximum protection

Door panel protection where loading contact is heaviest

Material selection matched to your cargo, moisture, and cleaning habits

Honest guidance when a smaller package genuinely fits the work

3

Step 3 — Template Around Doors, Tie-Downs, and Wiring

This is the craftsmanship step: liners protect best when they fit the van like they grew there. A liner that ignores the van's features creates problems; one templated around them disappears into the build.

Panels templated to the van's actual contours, not a generic pattern

Cutouts fitted around tie-down points so anchoring strength is preserved

Openings maintained for lighting, vents, and electrical access

Door clearances verified so nothing rubs, binds, or rattles

Fit checked dry before anything is fastened permanently

Templates saved so repeat vans can be lined to the same standard

4

Step 4 — Install From the Floor Up

Installation follows a deliberate order so every seam overlaps the right way and every edge lands protected. Done right, each surface ends up guarded by the panel that meets it.

Floor system installed and secured first as the foundation

Wall panels fitted tight to the floor edges and wheel wells

Ceiling panels installed with fasteners kept flush and secure

Seams and edges finished so there's no lip to catch a boot or a crate

Hardware checked so the liner stays quiet on rough roads

Working areas kept clean and protected throughout the install

5

Step 5 — Detail, Inspect, and Review Care Basics

The van leaves our shop clean, documented, and ready to be loaded that same trip home. We treat the handoff as part of the install, not an afterthought.

Full inspection of every panel, seam, fastener, and cutout

Doors, tie-downs, and vents tested with the liner in place

Cargo area cleaned and detailed before handoff

Simple care guidance so easy-clean surfaces stay that way

Install documentation provided, with our workmanship warranty behind the work

An open door back to our shop if a panel ever needs attention

Van Liner Questions We Hear in Omaha & Lincoln

Floors, walls, ceilings, and door panels can all be protected. The floor takes the worst abuse and is where most customers begin, but walls and ceilings matter for trades hauling tall material or working inside the van. We build coverage as a system, so each surface you add ties cleanly into the last one.

Yes — interior condition is one of the first things a buyer or appraiser checks on a used work van. A liner keeps dents, gouges, and stains off the body itself, so years of loading leave their marks on a protective surface instead of the sheet metal that determines what the van is worth.

Far better than bare metal or factory finishes. The materials we install are chosen so spills sit on the surface instead of soaking in, and routine messes come off with basic cleaning. A van that gets wiped out weekly stays presentable for years — which is exactly the point of an easy-clean interior.

Yes, and that's the recommended order: liner first, storage second. We plan mounting locations so van shelving systems anchor securely with the liner in place, keeping the protective layer intact around every upright. Installing the liner after shelving means cutting around obstacles, which compromises coverage.

That's their job. Wall panels absorb the everyday knocks of crates, pipe, lumber, and equipment shifting in transit, spreading impacts that would otherwise leave permanent dents in the body panels. Pair them with proper cargo securing and the inside of your van can work hard without looking like it has.

A fitted liner system does the opposite — properly fastened panels damp the tinny drumming of a bare cargo body and keep road vibration from turning the van into an echo chamber. Rattles come from loose, poorly templated panels, which is why our workflow checks fit dry before anything is fastened down.

Not when it's fitted correctly. We inspect and document the floor's condition first, fit panels to the body rather than loosely draping material, and keep drainage and ventilation features functional. Moisture problems come from careless installs — and our work is covered by our workmanship warranty for exactly that reason.

It's the best time to do it. A new van's interior is a blank, undamaged slate, and a liner installed on day one means the body never takes a single unprotected hit. Lining a van early costs no more than lining it late — but it protects years of value that late installs can't recover.

No. We template every panel around the van's working features — tie-downs, vents, lighting, wiring access, and door hardware all stay functional. Anchoring strength is preserved at each tie-down point, and door clearances are verified during fitting so nothing binds or rubs once the system is in.

Interior protection is one of the smartest moves a lessee can make, since a liner absorbs the wear that would otherwise show on the vehicle you're returning. Review your lease terms for what's permitted, and we'll recommend a liner approach that protects the interior throughout the term of use.

Van Liner Installation Throughout Nebraska & Kansas City

Work vans roll into our Omaha facility for interior protection from all over the region. Some arrive brand new, some arrive battle-scarred — all of them leave protected, with the same panel-by-panel fit. We line vans from:

  • Omaha — the metro's cargo vans, lined before the wear begins
  • Lincoln — vans worth the drive for a fitted liner system
  • Papillion — trade vans protecting their resale value early
  • La Vista — couriers and contractors upgrading bare interiors
  • Bellevue — hard-working vans getting easy-clean cargo areas
  • Elkhorn — new business vans built right from day one
  • Bennington — owner-operators preserving their biggest asset
  • Nebraska City — southeast Nebraska crews lining before winter
  • Grand Island — central Nebraska vans taking daily abuse
  • Kearney — high-mileage vans protecting interiors for the long haul
  • Kansas City — Missouri vans headed north for full interior builds
Van Liner Installation Throughout Nebraska & Kansas City Van Liner Installation Throughout Nebraska & Kansas City

Round Out the Cargo Area Build

A liner is the foundation layer. These upfits are what usually get built on top of it — and planning them together makes the whole interior work as one system.

Van shelving installation

Sortimo and Holman shelving in customizable configurations, anchored over your liner so organization and protection work as one system. Customizable configurations mean the layout matches your trade, not a template.

Ladder racks

Move ladders and long stock to the roof so they stop scraping across the very surfaces your liner protects. Steel and aluminum designs fit vans, trucks, and service vehicles alike.

Steps and running boards

Non-slip access that makes stepping into a loaded van as safe as the interior you just protected. Entry-level safety, in the most literal sense.

Fleet upfitting

Repeat the same liner-first build across every van you run, so each vehicle wears in — and trades in — the same way. Consistency like that pays off at resale time, van after van.

Protect Your Van's Interior Before the Damage Is Done

There are two kinds of work vans: the ones that were lined while the interior was still clean, and the ones whose owners wish they had been. A van liner system can't undo years of gouged floors and dented panels — but installed early, it makes sure those years never leave a mark on the metal that matters. Durable surfaces take the hits, easy-clean materials handle the messes, and the van underneath stays honest about its value. The earlier the liner goes in, the more of that story it gets to rewrite.

We're a family-owned Nebraska upfitter, and we build liner systems the way we'd protect our own equipment — fitted to the van, planned around the work, and installed to stay quiet and solid for the vehicle's whole service life. It's the same care we bring to every build that rolls through our shop. If you want to know who's doing the fitting, meet the team behind Revolution Upfitting before you bring the van in. We'll also flag anything about the interior worth addressing before panels go over it.

Send us your van's year, make, model, and roof height, along with what you haul and how it loads. We'll recommend the right coverage — floor, walls, ceiling, or the complete enclosure — and quote a liner package that fits the way your business actually works. Photos of the cargo area help, especially if the van is already in service.

© Red Barn Media Group 2026